Adding Your Services to Linkerd
In order for your services to take advantage of Linkerd, they need to be “added
to the mesh” by having Linkerd’s data plane proxy injected into their pods.
This is typically done by annotating the namespace, deployment, or pod with the
linkerd.io/inject: enabled Kubernetes annotation. This annotation triggers
automatic proxy injection when the resources are created.
(See the proxy injection
page for more on how this works.)
For convenience, Linkerd provides a linkerd
inject text transform command will add this
annotation to a given Kubernetes manifest. Of course, these annotations can be
set by any other mechanism.
Note that simply adding the annotation to a resource with pre-existing pods
will not automatically inject those pods. Because of the way that Kubernetes
works, after setting the annotation, you will need to also need to recreate or
update the pods (e.g. with kubectl rollout restart etc.) before proxy
injection can happen. Often, a rolling
update
can be performed to inject the proxy into a live service without interruption.)
Example
To add the data plane proxies to a service defined in a Kubernetes manifest,
you can use linkerd inject to add the annotations before applying the manifest
to Kubernetes:
cat deployment.yml | linkerd inject - | kubectl apply -f -This example transforms the deployment.yml file to add injection annotations
in the correct places, then applies it to the cluster.
Verifying the data plane pods have been injected
Once your services have been added to the mesh, you will be able to query
Linkerd for traffic metrics about them, e.g. by using linkerd
stat:
linkerd stat deployments -n MYNAMESPACENote that it may take several seconds for these metrics to appear once the data plane proxies have been injected.
Alternatively, you can query Kubernetes for the list of containers in the pods, and ensure that the proxy is listed:
kubectl -n MYNAMESPACE get po -o jsonpath='{.items[0].spec.containers[*].name}'If everything was successful, you’ll see linkerd-proxy in the output, e.g.:
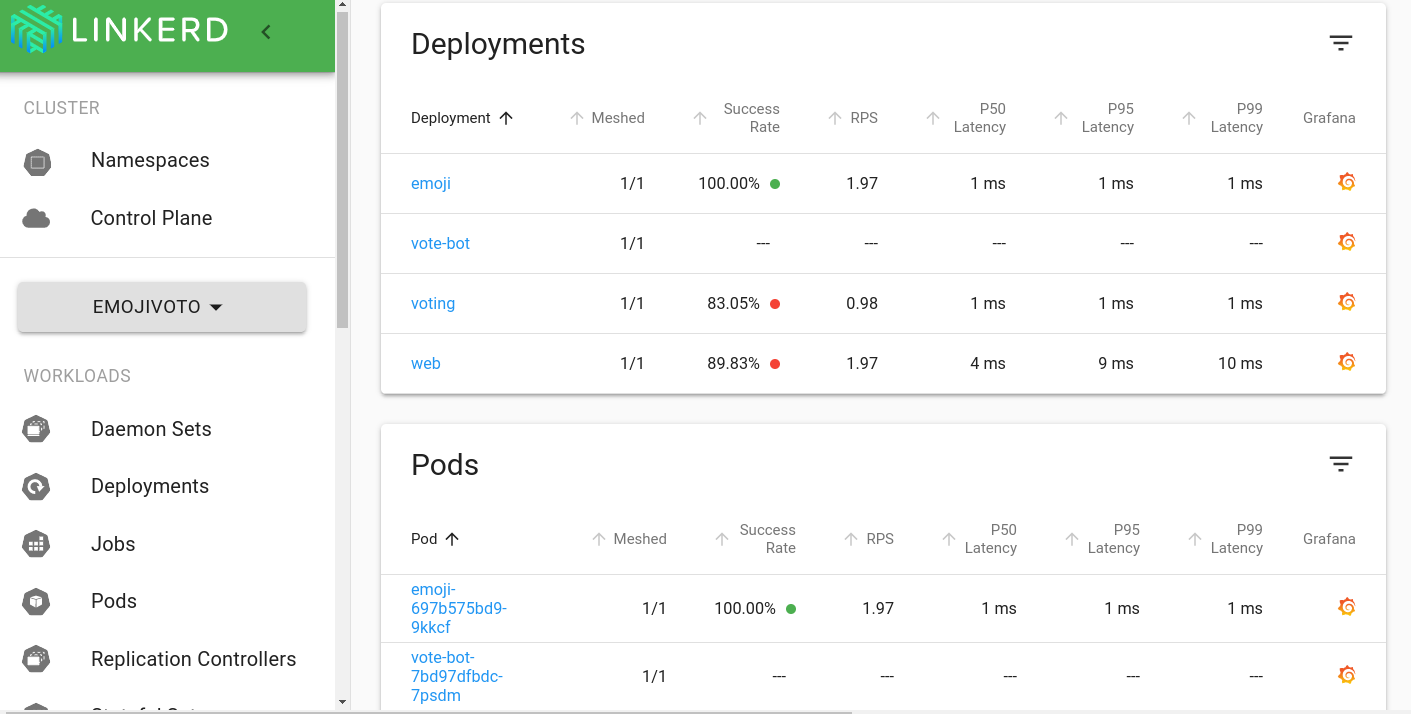
MYCONTAINER linkerd-proxyFinally, you can verify that everything is working by verifying that the corresponding resources are reported to be meshed in the “Meshed” column of the Linkerd dashboard.

More reading
For more information on how the inject command works and all of the parameters
that can be set, see the linkerd inject reference
page.
For details on how autoinjection works, see the the proxy injection page.

